Building walls is definitely the most complicated thing we've done (I'll probably say that a few more times). Not only that, it involves lots of strange jargon (kind of like trying to understand gamer speak). Today was a learning process for sure.

The first step was to create the layout. As you can see we laid two 2x4's (16') on the deck. These would eventually be cut up and serve as the bottom and top of our walls. On these we marked the location of every vertical 2x4. Studs, on 24in centers (24in apart), were marked first. Then the windows and doors were marked. The photo below shows the layout of a window.
Here's your first lesson in builder lingo:
K= king, this is the tallest stud on the each side of a window
T= trimmer, this is a slightly shorter stud that holds up the header over the window. It gets
nailed to the king stud.
CL=center line, this is the center of the window. The faint line and X mark the location of a stud. This stud is know as a cripple because it's a short one under the windowsill.
I wish I knew who named these things!

 We built all the K/T's (king/trimmers) first. Eight total, two per window. This was easy, all the trimmers are the same height because the tops of the windows are all level.
 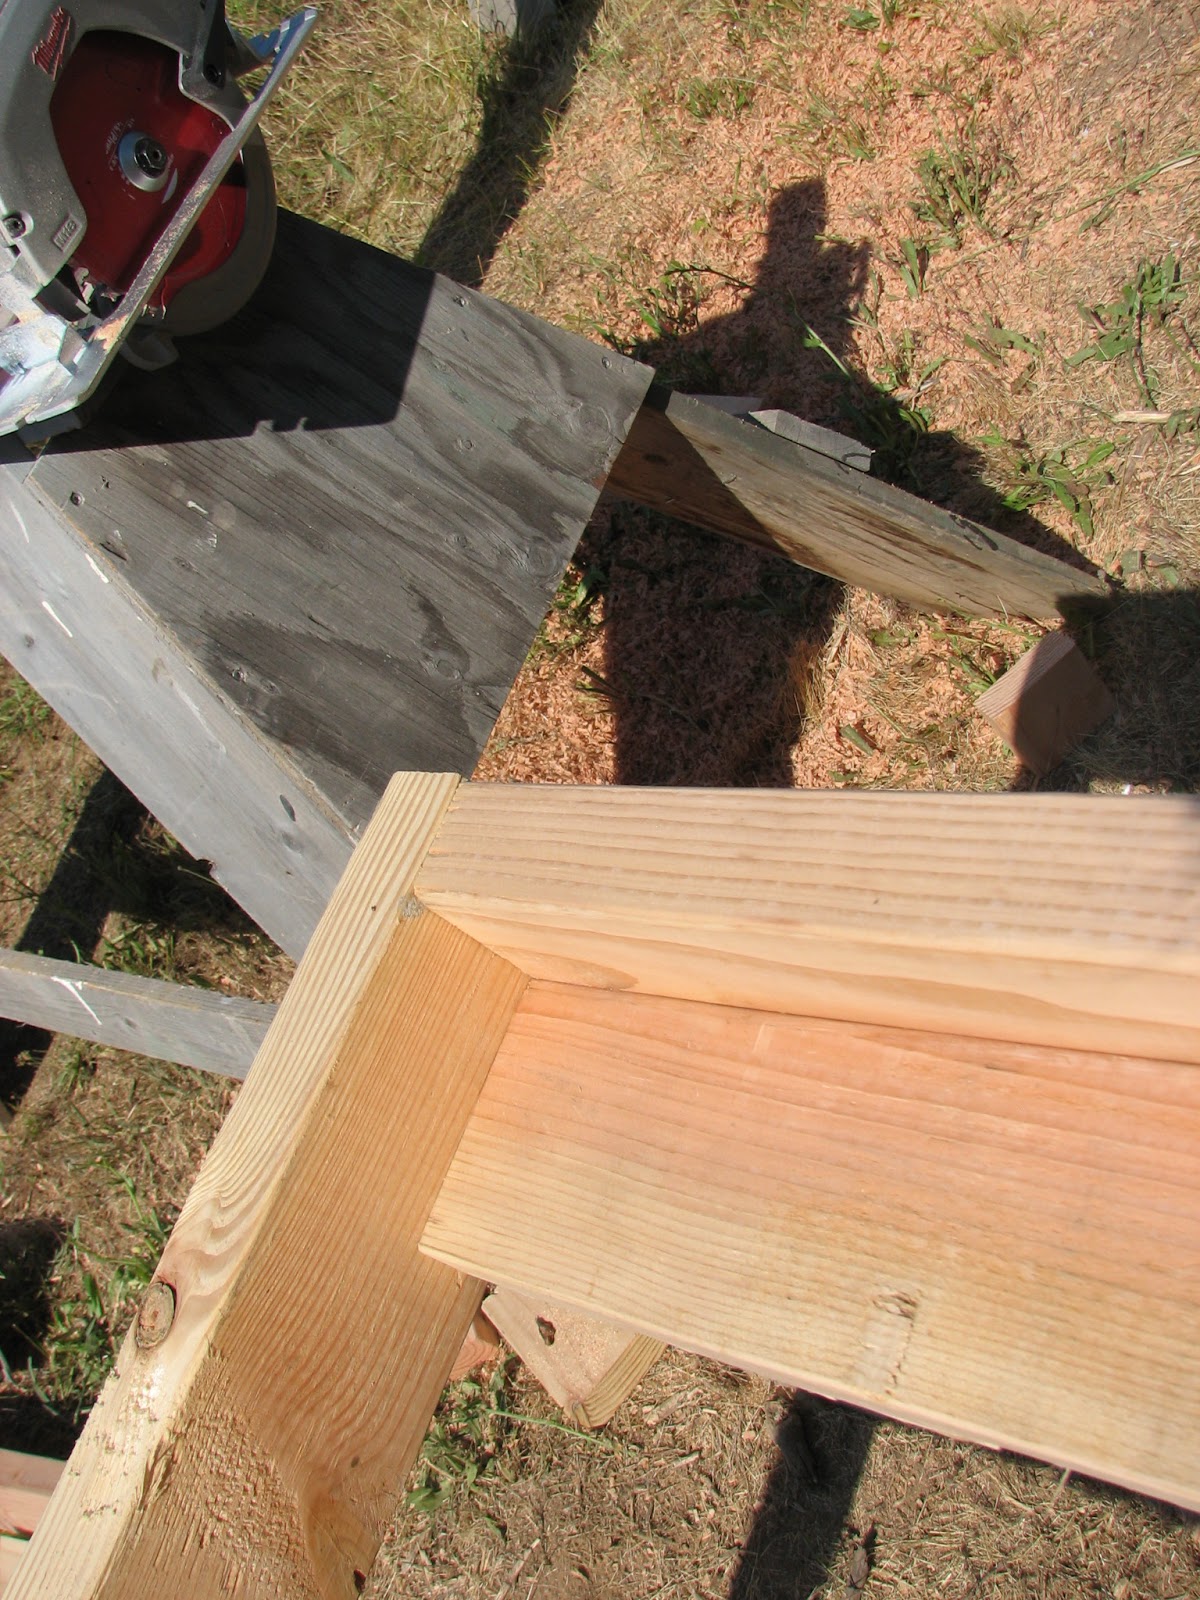 We also built four Cali's, which formed the corners. I'm not entirely sure what purpose they serve, but what my dad say's, goes. One is shown in the picture on the right.
Here's the window I mentioned before, put together. The two outside studs are kings. The next ones in, holding up the header, are trimmers. The next two in hold up the sill. The other one under the sill is the cripple. My first reaction to the cripple was "What's the point? There's another stud three inches away"
However, there is some logic to it. When it comes time to put plywood on, each piece needs to land on a stud. Plywood comes 4' wide, studs are 2' apart, everything lines up.

This was the fun part. My house suddenly appeared!


 |
| Measuring for the wall over the wheel well. It was the last wall to be built. |

Make sure all the walls are plumb first! Once the top plate is nailed in the walls can't be shifted.
Tah Dah! I have a house!
(Time for a popsicle)


